
Learning how to identify your skin type in 5 easy steps is the most important thing you can do to stop wasting money on products that don’t work. Understanding your skin type is the foundation of an effective skincare routine. Without this essential knowledge, you might be spending money on the wrong products, applying products that cause visible discomfort, or missing out on ingredients that may enhance your overall appearance. Identifying your skin type helps you choose products that align with your skin’s characteristics.
In this comprehensive guide, I’ll break down the importance of skin typing, describe the main types, and walk you through a clear, five-step process to determine where your skin falls on the spectrum. Whether you’re just starting a skincare journey or refining your current routine, this guide is your starting point for success.
Why Knowing Your Skin Type Is So Important
Before buying a new serum, you must identify your skin type in 5 easy steps to ensure the ingredients will actually benefit your specific concerns. Skin is your body’s most visible protective layer, and just like your diet or exercise routine, the care it requires depends on its unique characteristics. Products that are perfect for one person may cause acne, dryness, or sensitivity in another. That’s why guessing, or copying someone else’s skincare regimen, can often backfire.
When you know your skin type, you can:
- Choose cleansers and moisturizers that match your needs
- Select ingredients that improve, not affect your skin
- Minimize pimples and dryness
- Reduce wasted spending on ineffective products
- Notice improvements more easily from your skincare
Also, skin type isn’t about appearance alone. It reflects how your skin functions: its ability to retain moisture, produce oil, and respond to your environment.
My “Aha!” Moment with Skin Typing
I only discovered I had combination skin after I decided to identify your skin type in 5 easy steps, proving that our own guesses are often wrong. For years, I was convinced I had strictly oily skin. Why? Because like many people, I saw a bit of shine on my nose by lunchtime and immediately reached for the harshest “oil-control” cleansers I could find. I thought I was doing my skin a favor, but the reality was quite different.
My nose stayed shiny, but the rest of my face felt so tight and uncomfortable that it actually hurt to smile. I was trapped in a cycle of over-cleansing the dry areas and ignoring what my skin was actually trying to tell me.
It wasn’t until I finally sat down and did a simple “wait and observe” test, very similar to the one I’ve shared below, that I had my “aha!” moment. I didn’t have oily skin. In reality, I had classic combination skin that was also incredibly dehydrated from using the wrong products. Once I identified my true skin type, I stopped fighting my skin and started supporting it. The difference in how my skin felt, and how much money I saved on unnecessary products, was life-changing.
What are the 5 Basic Skin Types?
Skin types are usually categorized into five primary groups. While there are five categories, the best way to be sure of yours is to identify your skin type in 5 easy steps using the observation method, most people fall into one of these categories or a combination of them:
1. Normal Skin
- Balance: Not too oily or too dry
- Texture: Smooth, even tone
- Pores: Small, not easily visible
- Concerns: Minimal; skin rarely reacts or has pimples
2. Oily Skin
- Appearance: Shiny, especially in the T-zone (forehead, nose, chin)
- Texture: May feel greasy to the touch
- Pores: Large and visible
- Concerns: Tendency toward surface buildup
3. Dry Skin
- Appearance: Looks lackluster or slightly textured
- Texture: Rough, feels tense, or uncomfortable sensation
- Pores: Small, nearly invisible
- Concerns: Visible redness or discomfort
4. Combination Skin
- Appearance: Oily in the T-zone, dry or normal elsewhere
- Texture: Varies across the face
- Pores: Enlarged in the T-zone, normal elsewhere
- Concerns: May show visible reactivity to products
5. Sensitive Skin
- Appearance: Red, uneven-looking tone and reactive
- Texture: Often delicate
- Concerns: Easily reactive by products, temperature, or stress
How to Identify Skin Type Easily?
You don’t need a professional evaluation to begin this simple test. With these five steps, you can easily figure out your skin type at home. Follow this guide to identify your skin type in 5 easy steps from the comfort of your own bathroom.
Step 1: Cleanse with a Neutral Face Wash
Start with a clean slate. Wash your face using a gentle, non-exfoliating cleanser. Skip products with exfoliating acids, and don’t apply toner, moisturizer, or serum afterward.
- Why it matters: This removes makeup, dirt, and oils without affecting your skin’s natural balance.
- Tip: Rinse with lukewarm water and pat your skin dry with a clean towel. Avoid vigorous rubbing.
Step 2: Wait and Observe
Let your skin rest for about an hour. Avoid applying any skincare or makeup. Stay in a normal environment: not too hot, humid, or cold, to prevent altering your skin’s behavior.
This waiting period allows your skin to return to its natural state, revealing how it behaves without interference.
Step 3: Examine How Your Skin Feels
This is the most revealing part of the process; as you identify your skin type in 5 easy steps, pay close attention to how your cheeks feel compared to your forehead. After an hour, stand in front of a mirror in natural light and assess your skin:
- Does it feels tense or look lackluster or slightly textured? You likely have dry skin.
- Is there shine across your forehead, nose, and chin? You probably have oily skin.
- Do you see shine only in your T-zone, but your cheeks feel normal or dry? “This could point to combination skin.
- Is your skin calm, smooth, and balanced? That’s likely normal skin.
- Do you notice redness or sensitivity? You may have sensitive skin.
Write down what you observe. Small details like: whether your skin feels an uncomfortable sensation or looks visibly reactive, can give useful clues.
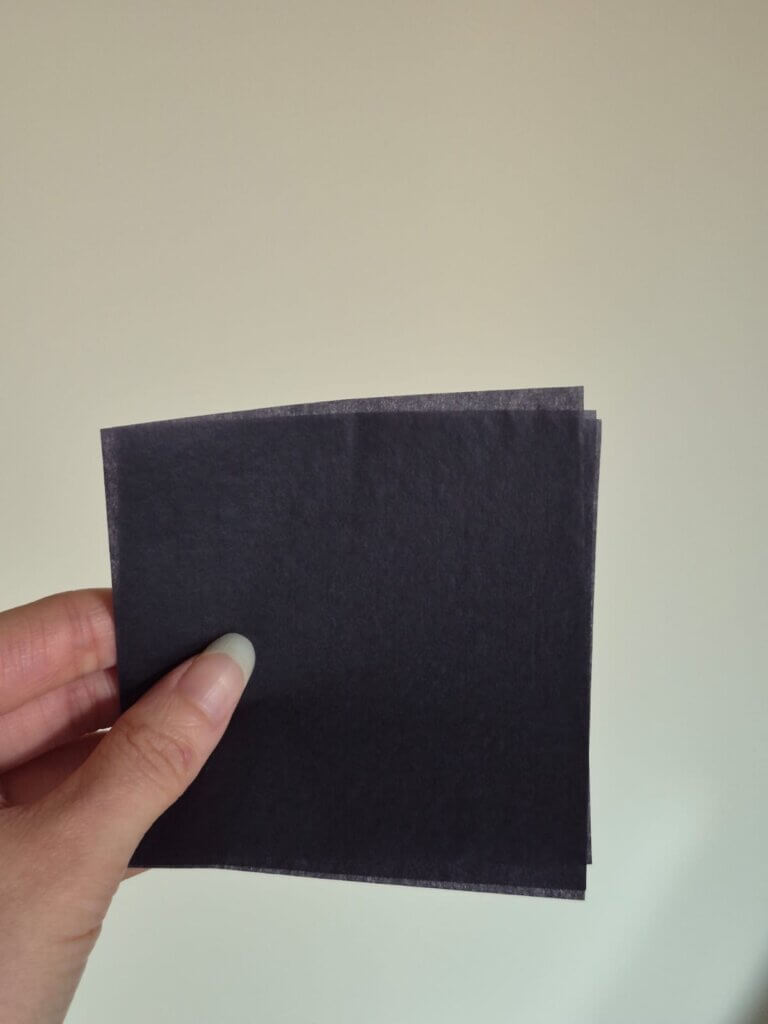
Step 4: Use a Blotting Sheet or Tissue Test
Take a clean tissue or blotting paper and gently press it on various parts of your face: forehead, nose, cheeks, and chin. This physical test is a crucial part of how to identify your skin type in 5 easy steps, as it provides visual proof of your sebum levels.
- Oily skin: The tissue will absorb noticeable oil from all areas.
- Combination skin: The T-zone will show oil, but the cheeks will not.
- Dry or normal skin: The tissue will pick up little to no oil.
- Sensitive skin: This test might not show oil, but your skin may feel uncomfortable during or after.
This is a simple but effective way to confirm what you felt and saw in Step 3.
Step 5: Reflect on How Your Skin Reacts Over Time
The final way to identify your skin type in 5 easy steps is to analyze your skin’s long-term behavior, such as how it reacts to different climates or stress levels. Think about your regular skincare experience. Do certain products cause redness? Does your face become shiny by mid-day? Are you prone to acne in humid weather?
Some questions to consider:
- Do your cheeks has dryness and peeling after cleansing? May indicate dryness or reactivity.
- Does your forehead get oily soon after washing? Likely oily skin.
- Cause a warming sensation? Possible sensitivity.
- Is your skin unaffected by most products? Probably normal.
Can Your Skin Type Change?
Absolutely. Your skin isn’t static. Even after you identify your skin type in 5 easy steps, remember to re-test every season as hormones and weather can shift your results. Many factors can influence or shift your skin type over time:
- Seasons: You may be oilier in the summer and drier in winter.
- Hormones: Puberty, pregnancy, or menopause can alter oil production.
- As directed by your healthcare provider or therapies: Blemish products can change how your skin behaves.
- Diet and lifestyle: Poor hydration or high sugar intake can lead to imbalances.
- Age: As you get older, sebum production decreases, often making skin drier.
That’s why it’s important to re-evaluate your skin type every few months, or anytime you notice your current products aren’t performing the way they used to.
Final Thoughts
Identifying your skin type is the first, most essential step toward supporting a glowing, well-cared-for appearance. By understanding what your skin needs and how it behaves, you can craft a routine that helps you notice positive changes, trial, or frustration.
Now that you know how to identify your skin type in 5 easy steps, you are ready to build a routine that truly supports your skin’s health.
FAQ (Frequent Questions)
- How often should I re-test my skin type? Your skin is dynamic! Ideally, you should re-evaluate every six months or whenever the seasons change. Hormonal shifts, aging, and even stress can turn a “normal” complexion into “dry” or “acne-prone” over time, requiring a routine update.
- Can I have two skin types at once? Technically, no, but you can have “Combination Skin,” which is a mix of oily and dry areas. You can also have a skin type (like Oily) and a skin condition (like Dehydrated or Sensitive) simultaneously, which often complicates product choices.
- What if my skin feels tight but looks oily? This is a classic sign of dehydration, not necessarily a skin type. It means your skin barrier is lacking water, often caused by harsh products. Focus on hydrating layers like hyaluronic acid before assuming you have strictly oily or dry skin.
- Does acne mean I have an oily skin type? Not always. While oily skin is more prone to breakouts, dry and sensitive types can also experience acne due to a compromised barrier or hormonal issues. This is why it’s vital to identify your true type before starting any intensive acne treatments.
Disclaimer:
This article is for general informational purposes only. Skin characteristics and product responses vary from person to person. For personalized guidance, consult a qualified professional.