In today’s world of elaborate skincare routines, it’s easy to feel overwhelmed by the sheer number of products and steps. From serums and essences to eye creams and facial oils, each promises better skin — but only if used correctly. One of the most important (yet often overlooked) elements of an effective skincare routine is how you layer your products.
Using the right products is only half the battle. If you apply them in the wrong order, even the best formulas can become ineffective — or worse, irritate your skin. The goal of this guide is to walk you through the correct order to apply your skincare products — both in the morning and at night — using simple principles and practical examples of affordable, U.S.-available products.
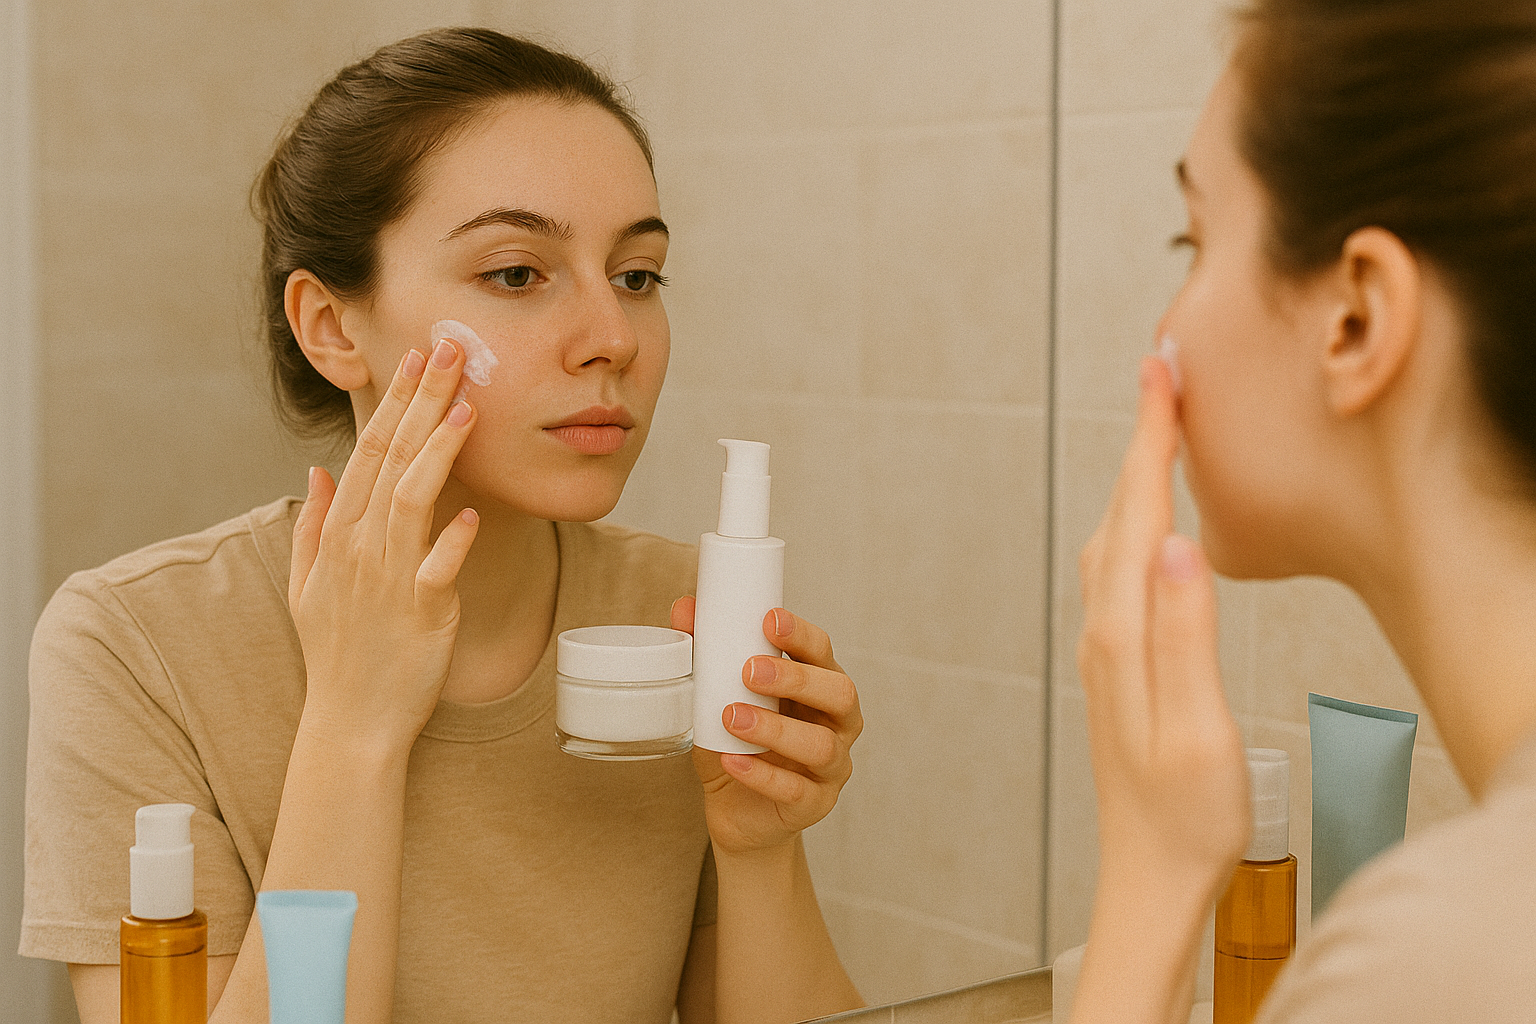
Why Proper Layering Matters
Your skin acts like a barrier, which means it only absorbs so much product at one time. If you apply products out of order — for example, using a thick moisturizer before a thin serum — it can block the lighter product from penetrating the skin. That means the active ingredients won’t reach the deeper layers where they’re most effective.
Correct layering allows:
- Better product absorption
- Fewer clogged pores or breakouts
- Reduced risk of irritation
- Maximized performance of each ingredient
The Golden Rule: Lightest to Heaviest
Always apply products from the thinnest to the thickest consistency. This ensures that water-based products get absorbed first, and oil-based products can then seal in the moisture and nutrients.
Here’s a basic product texture order to remember:
- Water (toners, essences)
- Serums
- Creams or lotions
- Oils or balms
- Sunscreen (in the morning only)
Now let’s break this down into a detailed routine.
Morning Skin Prep
The main goal of your morning routine is to protect, hydrate, and prep your skin for the day ahead — including exposure to UV rays, pollution, and stress.
Step 1: Cleanser
Start with a gentle cleanser to remove oil, sweat, and overnight buildup. You don’t need a harsh cleanser in the morning — just something to refresh your skin.
Examples:
- CeraVe Hydrating Cleanser
- La Roche-Posay Toleriane Purifying Cleanser
- Vanicream Gentle Facial Cleanser
Tip: Use lukewarm water and avoid hot water, which can dry out your skin.
Step 2: Toner (Optional)
Toners prep your skin for better absorption. Choose a hydrating toner or a pH-balancing one based on your needs.
Great options:
- Thayers Alcohol-Free Witch Hazel Toner
- Klairs Supple Preparation Facial Toner
- Good Molecules Niacinamide Brightening Toner
How to apply: Pour into your hands and press into skin or swipe with a cotton pad.
Step 3: Essence (Optional)
Essences are lightweight, water-based solutions that hydrate the skin and enhance product absorption. They’re especially beneficial for dry or dull skin types.
Affordable pick:
- COSRX Advanced Snail 96 Mucin Power Essence
Apply a few drops directly to clean hands and pat into the skin.
Step 4: Serum
This is your powerhouse step. Serums contain high concentrations of active ingredients like antioxidants, peptides, or hydration boosters.
Choose a serum based on your needs:
- Vitamin C for brightening and environmental protection
- Niacinamide for oil control and redness
- Hyaluronic acid for hydration
Recommended serums:
- The Ordinary Hyaluronic Acid 2% + B5
- The Inkey List Vitamin C Serum
- Naturium Niacinamide Serum 12% + Zinc
Apply 2–3 drops, and gently press into skin.
Step 5: Eye Cream
The skin around your eyes is delicate and requires specific care. Eye creams help with puffiness, fine lines, and dark circles.
Examples:
- e.l.f. Holy Hydration Eye Cream
- CeraVe Eye Repair Cream
Use your ring finger to gently tap product around the orbital bone.
Step 6: Moisturizer
Moisturizer locks in all your previous layers and helps maintain the skin’s barrier. Choose a formula based on your skin type:
- Gel: Oily skin
- Cream: Dry or mature skin
- Lotion: Combination skin
Budget picks:
- Neutrogena Hydro Boost Gel-Cream
- CeraVe Daily Moisturizing Lotion
- Aveeno Calm + Restore Oat Gel
Apply a nickel-sized amount and massage gently.
Step 7: Sunscreen
The final and most important step in your morning routine. Sunscreen protects against UV damage, premature aging, and dark spots.
Look for:
- Broad-spectrum protection
- SPF 30 or higher
- Lightweight or mineral formulas for sensitive skin
Top-rated choices:
- Neutrogena Ultra Sheer SPF 55
- Black Girl Sunscreen SPF 30
- EltaMD UV Clear SPF 46
Apply 1/4 teaspoon (about two fingers’ length) to your face and neck.
Evening Skincare Routine: Step-by-Step
At night, your skin enters repair mode. This is the time to focus on nourishment, recovery, and stronger actives like retinol or exfoliants.
Step 1: First Cleanse (Oil-Based)
If you wore makeup or sunscreen, start with an oil-based cleanser or cleansing balm.
Popular options:
- Banila Co Clean It Zero
- The Ordinary Squalane Cleanser
- Pond’s Cold Cream Cleanser
This step melts away makeup, oil, and sunscreen.
Step 2: Second Cleanse (Water-Based)
Use a gentle cleanser to remove any leftover residue and give your skin a fresh start.
Suggestions:
Same as morning cleansers.
Step 3: Toner
Use a hydrating toner or, if you’re exfoliating, an AHA/BHA toner.
Exfoliating examples (2–3x/week):
- The Ordinary Glycolic Acid 7%
- Paula’s Choice BHA Liquid Exfoliant
Step 4: Treatment Serums or Actives
At night, you can use more potent ingredients like:
- Retinol (fine lines and acne)
- Peptides (firmness)
- Alpha Arbutin (dark spots)
- Lactic acid or salicylic acid (texture or congestion)
Recommended options:
- The Ordinary Retinol 0.5% in Squalane
- Inkey List Lactic Acid Serum
- Versed Press Restart Gentle Retinol
Only use one active per night to avoid irritation.
Step 5: Eye Cream
Same as morning, but you can choose more reparative formulas for overnight hydration.
Evening-focused picks:
- RoC Retinol Correxion Eye Cream
- Olay Eyes Ultimate Eye Cream
Step 6: Night Cream or Moisturizer
Night creams tend to be thicker to provide intense hydration and barrier support.
Budget-friendly picks:
- CeraVe PM Facial Moisturizing Lotion
- Olay Regenerist Night Recovery Cream
Apply a generous layer and massage evenly.
Step 7: Facial Oil (Optional)
Facial oils are great for dry, aging, or sensitive skin types to seal in hydration.
Examples:
- The Ordinary Rosehip Seed Oil
- Biossance Squalane Oil (travel size)
- Palmer’s Cocoa Butter Skin Therapy Oil
Use 2–3 drops as your final layer.
Layering Tips and Tricks
1. Wait Between Layers
Give each product 30–60 seconds to absorb before applying the next.
2. Apply to Damp Skin
Serums and moisturizers absorb better on slightly damp skin — especially hyaluronic acid.
3. Don’t Overdo It
Using too many actives at once can damage your skin barrier. Stick to 1–2 treatments per routine.
4. Patch Test New Products
Always test new serums or treatments on a small area before applying them to your face.
5. Adjust by Season
In winter, you may need thicker creams and facial oils. In summer, stick with gels and lighter layers.
Ingredient Combos to Avoid in the Same Routine
- Retinol + Vitamin C – Can cause irritation. Use vitamin C in the morning and retinol at night.
- Exfoliating acids + Retinol – Overly harsh. Alternate nights.
- Niacinamide + Vitamin C (pure ascorbic acid) – Some formulas work, but they’re best used separately.
Simplified Skincare Routine for Beginners
Morning:
- Cleanser
- Vitamin C Serum
- Moisturizer
- Sunscreen
Evening:
- Oil Cleanser + Gentle Cleanser
- Niacinamide Serum or Retinol (not both)
- Moisturizer
Final Thoughts
Learning how to layer your skincare products correctly is one of the easiest and most effective ways to boost your routine’s performance. When applied in the right order, even affordable products can deliver impressive results.
Always listen to your skin. If something stings, burns, or causes redness, scale back and simplify. Skincare is personal — not every routine will look the same. But when built on smart layering, gentle ingredients, and consistency, it will always lead to healthier, glowing skin.